When algae are beginning to spread on the glass surfaces of Lily Pipes or your ceramic diffuser is so gunked-up with dirt and algal growth, that the CO2 bubbles get bigger but scarcer, it is probably time to clean your glassware. Cleaning is not difficult, but should be done conscientiously. The glassware will be as good as new afterwards.
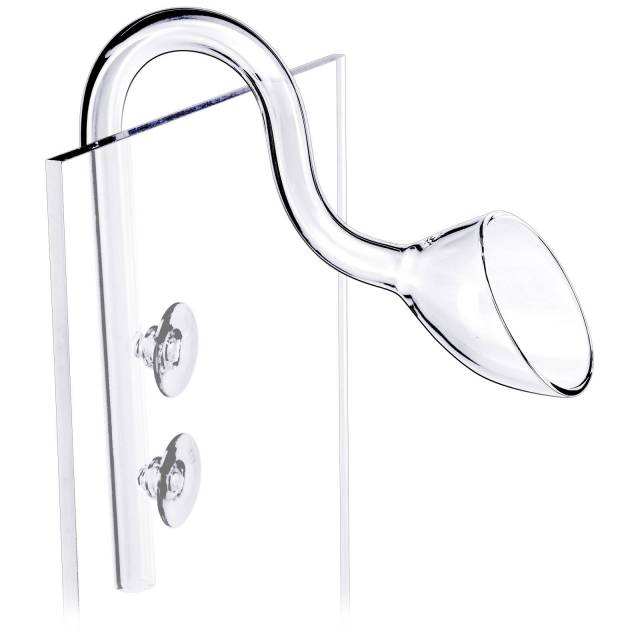
In general, care should be taken when handling glassware to do it - if possible - without great force or leverage, for example when connecting or disconnecting hoses. In the worst case, the glass will break. In the chapter "Particularities in Lily Pipes
" we give you further tips for attaching or removing a hose when handling glassware.
Cleaning
You need household-standard chlorine cleaner (hygiene cleaner) without fragrances. When working with chlorine bleach, the manufacturer's precautions should be followed. It is recommended to wear gloves and carry out the work in a well-ventilated room. One part of the chlorine cleaner is placed in a vessel and mixed with the same amount of water. There should be so much of the solution that you can completely immerse the glassware in it. If the glassware is equipped with suction cups, they’ll absolutely need to be removed first. Leave the glassware in the solution for several hours (depending on how dirty it is).
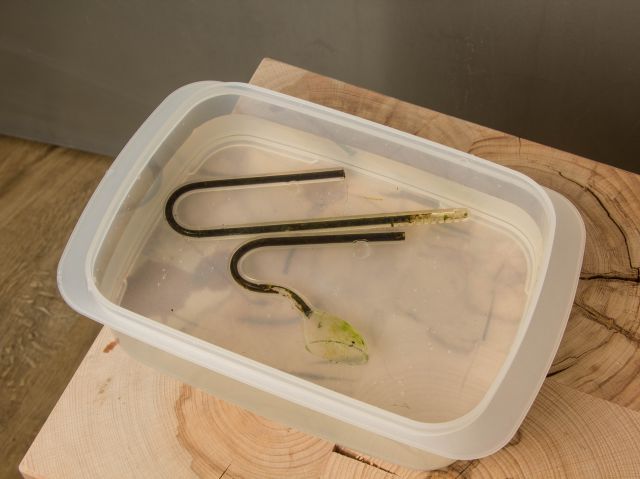
Remove the glassware with tweezers or gloves and rinse it under running water. Now all dirt and chlorine cleaner residues should be gone and the glassware shining again in new splendor. Who wants to make sure, can bathe the glassware again in a vat of water (without bleach). Some water conditioner is added, to chemically remove the last remnants of chlorine.
Particularities in CO2 diffusers
Especially when bathing them for a longer time, some of the chlorine bleach/water mixture will collect inside the diffuser. To remove these chlorine residues as well, there is a simple trick: outside of the aquarium, connect the diffuser to a CO2 system and hold it over a separate receptacle.
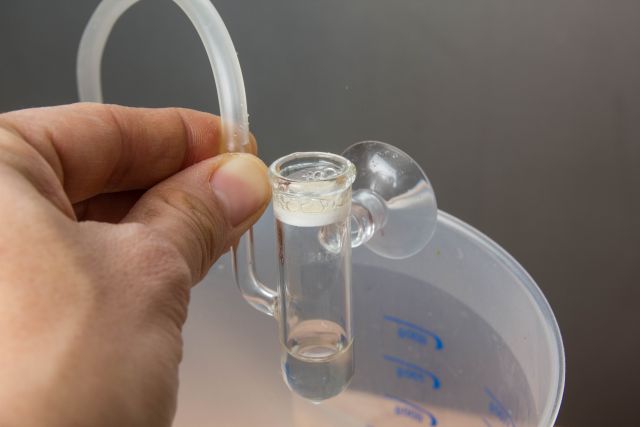
Now you can turn the glassware upside down. The gas pressure of the CO2 system displaces the last liquid residues, which now escapes via the ceramic membrane. The separate container serves to capture this liquid, which can then be disposed of. Finally, the diffuser can be rinsed under running water and is ready for use again.
Particularities in Lily Pipes
In prolonged use - especially inside those - in- and outflows made of glass unsightly films will collect. So Lily Pipes made of glass should be cleaned once or twice a month. For that, you disconnect the external filter from its power supply and shut off the hose connectors with the respective valves, to prevent leakage. That glassware (with the hose still attached) is then carried away from the aquarium and held over, for example, a bucket.
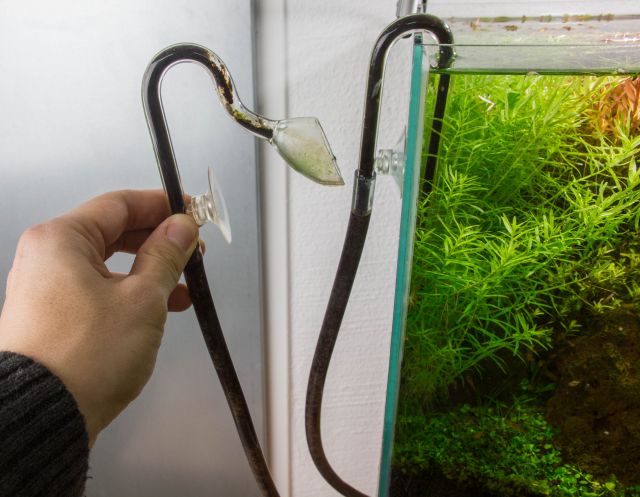
The in- and outflows are disconnected from the hoses. Caution should be excercised, especially the first time around, because the filter hose can be sitting on the glass tube pretty tightly. You should push the hose a little further up the tube while it is still filled with water. This makes it easier to separate it from the hose afterwards. If you struggle with disassembly, you can dip the Lily Pipe - including the connected hose end - into a warm water bucket. A warm hose is usually more flexible and elastic.
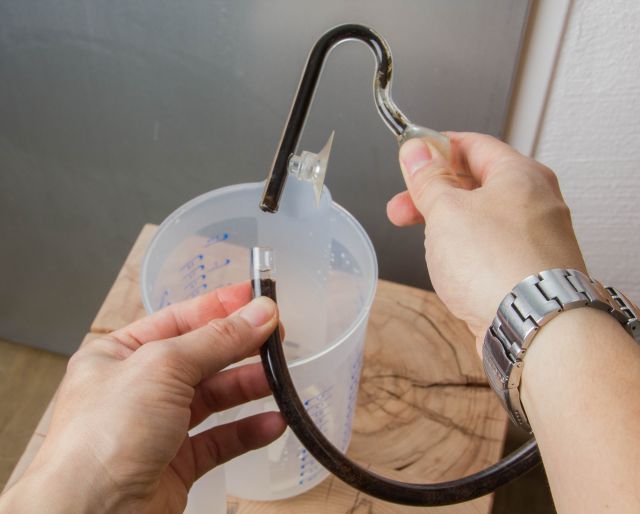
Preliminary cleaning

To enhance the cleaning effect, it makes sense to work the glassware with a matching tube brushes before dipping it in chlorine. It is important to take heed of the right hose diameter. The small filter in- and outflows from Aquasabi with a diameter of 9mm are a special case. This 10 mm tube brush from ADA is a good fit, though. Furthermore, the glassware can be cleaned pretty well with a pipe cleaner or by submerging it into the bleach dip a bit longer.
You’ll need a tube brush with a short brush head to get through all bends properly, which is especially true for those quite curvy Lily Pipes. The filter hoses can be cleaned with the spring washer, too.
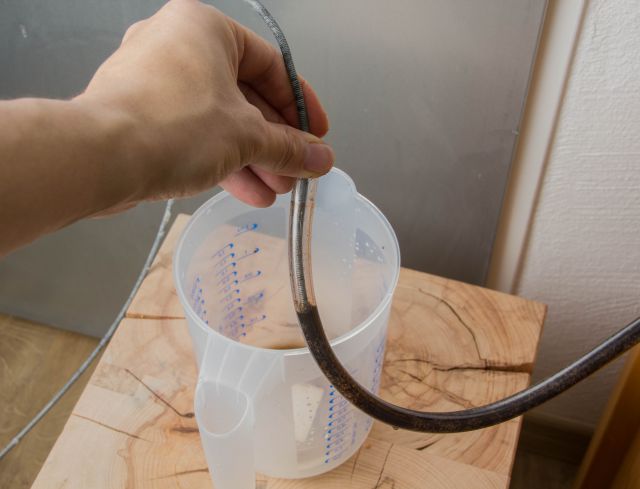
If the hoses and glassware are only slightly grimy, brushing them might already be enough. At higher dirt levels, the time for a bath in the bleach would be now.
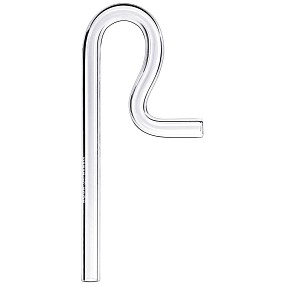
A curvy pipe calls for a good hose brush.
When bathing your Lily Pipes, it is important to make sure there’s no air trapped in their tubes. The cleaning agent may not work in these spots. With progressive exposure, the deposits in the filter tubes will dissolve and change their color. Depending on the degree of contamination, a rather lengthy bath (e.g. over night) can be an option. After the bath, the pipes are taken out of the dip using tweezers or gloves. The last remains of dirt and gunk can be removed using our trusty tube brush. Finally, the glassware is rinsed under running water and will look as good as new.
Cleaning in case of extreme staining
If there is some particularly stubborn dirt inside, or it just doesn’t want to dissolve in certain bends and curves, there is a way to deal with it. For that you turn the Lily Pipes upside down, so that the tube ends point upwards and put them into the cleaning tub. The glassware should be placed in a stable position so it won’t fall over. Now, pure, undiluted chlorine cleaner is filled into the tube ends, but only so much, that the cleaner can’t escape through the openings. Due to design, a glass filter outlet can not hold as much liquid as a filter inlet. Let the chlorine bleach act for a few hours until the gunk peels off. Afterwards, the glassware is ready for use after thorough rinsing with water.
Particularities in CO2 drop checkers
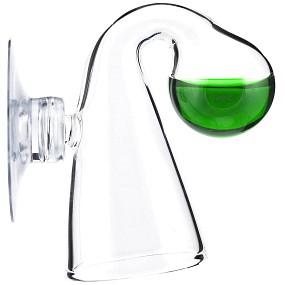
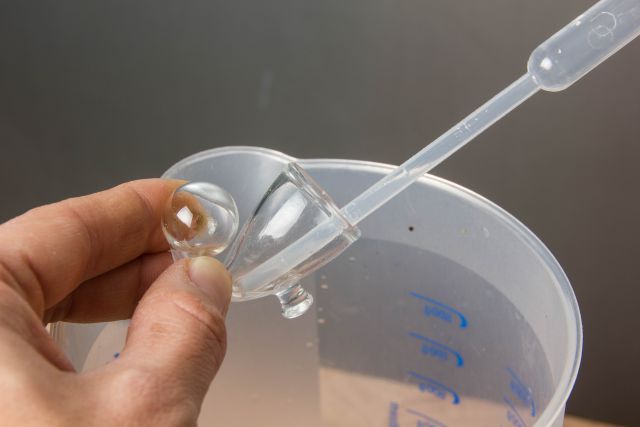
It may happen with some drop checkers that some of the chlorine-bleach-water farrago gets stuck in the orbhead. Possible residues will influence the CO2 reagent, making it turn yellow pretty much immediately. To prevent this, the inside of the drop checker needs to be rinsed thoroughly, too. To fill and empty the orbhead, a pipette is a great tool.
