Anyone with a little knowledge about aquatic animals knows that mindlessly dumping fish, shrimp or snails into an aquarium tank doesn’t necessarily have to end well. Heavily deviant water values can trigger a kind of shock or at least lead to high stress levels With fish and shrimp this can go so far that the animals become ill and may even die. Also, aquatic snails are often reported to lie on the floor of the new aquarium as if in a huff, before they eventually get on their foot and crawl their way.
It is certainly better, to slowly get the new aquarium inhabitants used to the environment slowly and carefully so that they can gradually adjust to the new water values. The more different the aquarium water is from the transport water, the more careful and slower the acclimatization should be done.
Acclimatizing fish
Nowadays the acclimatization of fish is even explained on many transport bags. Actually, it is quite simple: the bag with the fish first needs to reach aquarium temperature. For that you just put the closed bag into the aquarium. When the temperature is approximately reached, open the bag and turn up the edge of the bag so that some air is trapped, holding the bag securely on the water surface. Then, about every 10-15 minutes, pour a shot glass of aquarium water into the bag until the amount of water in it has approximately doubled. Then you carefully release the fish from the transport bag and release them into the aquarium. The transport water should be kept out of the tank, because quite some waste will accumulate inside that you don’t want to have in your aquarium.

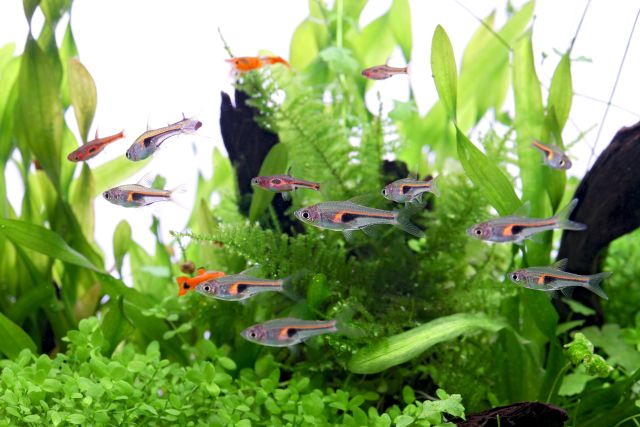
A school of Trigonostigma hengeli (harlequin rasbora) - Photo by Chris Lukhaup
Attention, if you have very jumpy fish, it must be ensured that they can not jump out of the bag and onto the floor next to the aquarium, so better close that cover!
Acclimatization of shrimp
For less sensitive, decorative shrimp of for example the genus Neocaridina or - at very similar water values - even for more sensitive shrimps such as bee shrimp, tiger shrimp and high breeds, you can proceed as described above.

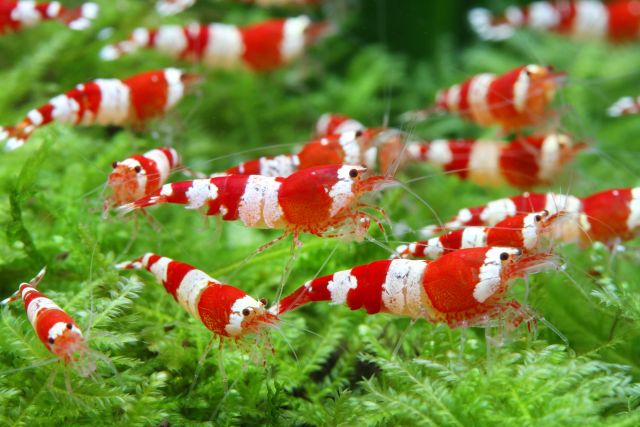
A flock of red bee shrimp (Caridina logemanni) - Picture by Chris Lukhaup
Much more gentle for the animals would be the droplet method described below - if you want to be on the safe side and stress the little crawlers as little as possible when putting them in the aquarium, this is certainly the method of choice. However, it assumes that the transport water is okay. If it is cloudy or stinks noticeably, the animals have to get out of the bag and into clean water as soon as possible - no time for long acclimatization in this case.
For acclimatization by means of the droplet method you need a separate container - a clean bucket, a large bowl ...few limits to your imagination here. On a white ground you can see even the smallest shrimp pretty well. Please make sure that the vessel is absolutely clean and contains no residues of cleaning agents!
The bag with the future aquarium dwellers is now carefully emptied into this vessel. This can be done particularly gentle by not simply dumping the content into the bucket, but by laying it into the vessel and carefully cutting it open. Check the walls of the bag for possible adherent shrimp before discarding it! Often shrimp stick to plastic like glue when outside the water.
Then you fetch an air pipe, loosely tie a knot into it and suck in aquarium water like you would during a water change. Tighten the knot until only droplets come through. Then the hose is hung into the vessel with your newcomers, filling it up drop by drop. When the amount of water has roughly doubled, you pour off half of it and repeat the process.
The transport water should not end up in th aquarium as with the previous procedure, so it’s best to use a fish net, to migrate the shrimp afterwards.
If you need to acclimatize shrimp more often, you can spare yourself the trouble of knotting: an infusion set from the pharmacy is a very handy alternative.
Acclimatizing of snails
Aquarium snails deserve a careful familiarization. The useful little helpers can get very angry if they are simply thrown into the new water after the stressful transport and just pouch in for days. A tried and tested method here is the so-called snail-balcony.
For that you use a piece of styrofeam, roughly 5mm in thickness, two suction cups and wedge them into the styrofoam. This has the benefit of the styro staying put and not drifting around in your aquarium. Attach it in a way that it is touching the water surface slightly diagonally, with a part of it reaching into the water. The new snails are now just placed on the styro with the snailhole downwards. This way the snails can get used to their new home by themselves and crawl into the water as slowly or quickly as they like. You will notice, that there are big differences in behaviour. Some snails might end up in the water after a few minutes, where others may need a couple of hours.

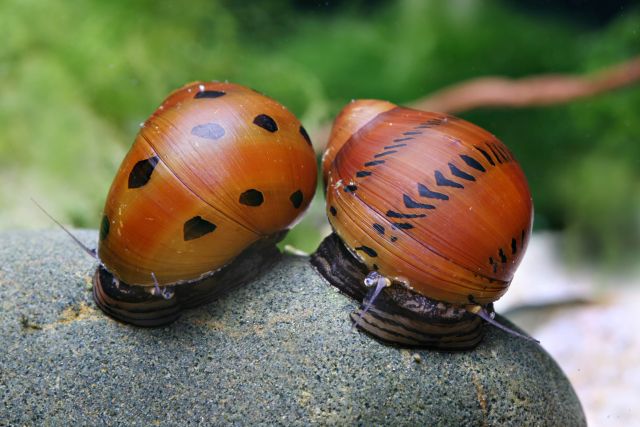
Neritina - Photo by Chris Lukhaup